
Art Movement : Surrealism
Reference Artist: Salvador Dali
Reference Artwork: The Persistence of Memory

The program I used to edit my pictures is Adobe Photoshop CS4.
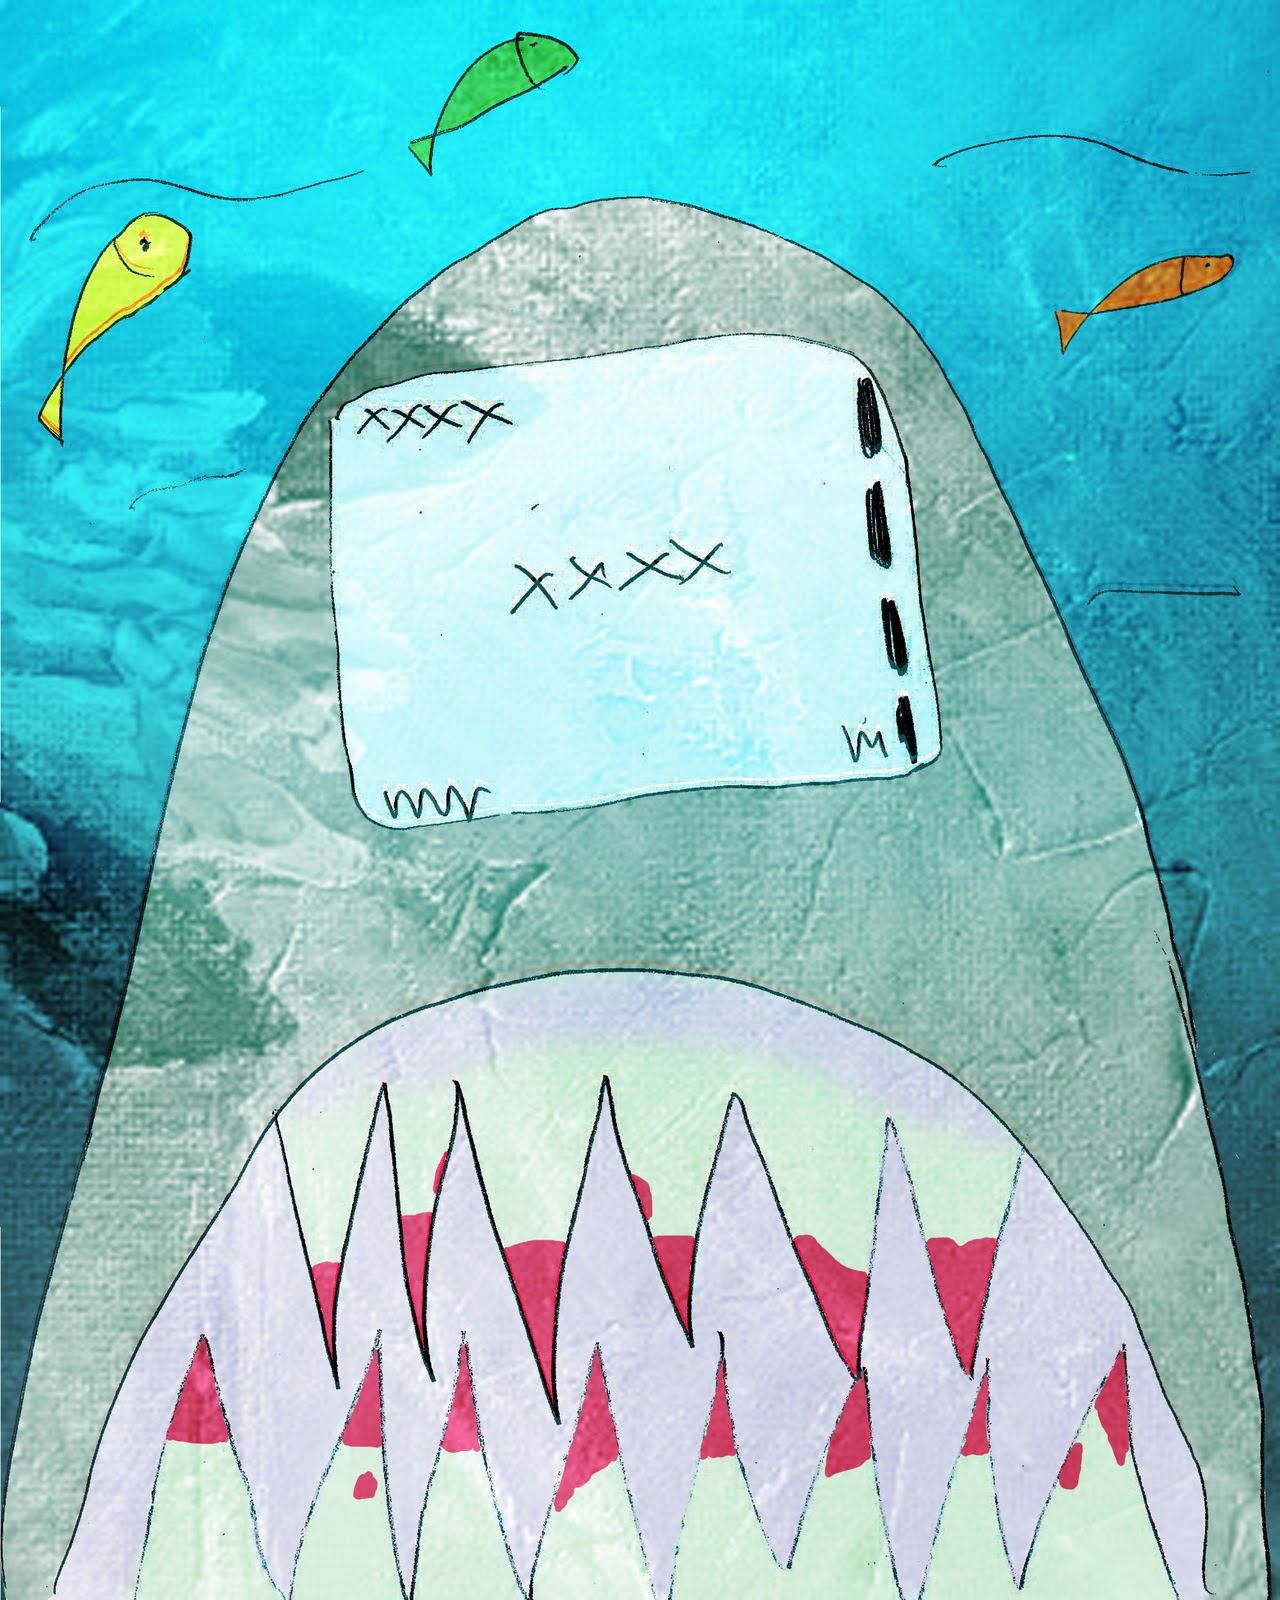
Shark Phone


I used this two as my reference picture while editing my drawing in Photoshop.

This is my original sketch.


Using Levels, I manage to adjust it so that my picture looks like that. On the left is the levels I used to increase the clarity of the sketch. I had to use a clipping tool to clip my picture to the adjusted levels as the colors I use later on in my picture tend to be a shade darker if I did not do so.

After that, I used a gradient tool to produce the sea water background of the shark.
Light blue #12d6ee
Dark Blue #22252a
Dark Blue #22252a
After dragging it around several times, I finally chose this gradient as its background.

For the rest of the filling in the colors, I used the magic wand tool to select the original sketch, causing it to select the lines. This allows me to paint all over the picture, without erasing the lines.
After that, I colored the sharks body and the fishes around it. It was all done by using a brush with 100% hardness.
Yellow Fish
#f1ff20
Green Fish #29be30
Orange Fish #df6c00
Shark #9aa290Green Fish #29be30
Orange Fish #df6c00

Next, I colored the teeth and gums of the shark.
Teeth #f1eecc
Gums #f1cce3
Blood #e90e32
Gums #f1cce3
Blood #e90e32

Next, i used the brush with 0% hardness and soft light mode and color it all over the picture. This is to give the picture a under the sea feeling.
Blue screen #d6fafc

Lastly, I added this texture to my painting. I had to transform it 90 degree and rasterize it, then I overlay it onto my picture, giving this result.
The Phone Bride


These are the pictures I used to get an idea on how I would like my picture to look and the colors I should use will editing my picture in Photoshop.

My original sketch

For this sketch, I used a different way to darken the lines. I used the magic wand on the sketch, causing it to select all the lines. Then I press inverse so that I can work on the lines instead of outside the lines and I use the brush tool and paint it black. This causing all the lines to darken.

I started by painting the background of the picture.
The sky,
I used the gradient tool to get the effect of the sky that I wanted
Dark colour #51a6e7 Light colour #a3cdee
Then i use the brush tool, to paint the clouds in the sky Cloud #9fbee1
After that, I used the pencil tool to draw the birds on the sky.
The sea,
I used the brush tool to paint the sea, I used a different color blue to give the sea a bit more color.
Sea #7bc3d2 Highlights #65c8da
After that, I used a pencil tool again, to draw the waves in the sea.
The sand,
I used paint brush tool to color it with 2 different shades of highlights.
Sand #ebd6cd Highlights #e8c2b1 and #d3b0a2

Next, I painted the bride and groom
Bride:
Skin colour #eac3a6
Gown #f185bd
Veil #fbeef3
Jewely #f185bd
Skin colour #eac3a6
Gown #f185bd
Veil #fbeef3
Jewely #f185bd
Groom:
Body #0d0c0c
Screen #f9f3f3
Bow Tie #e80520
Body #0d0c0c
Screen #f9f3f3
Bow Tie #e80520

Lastly, I painted all the flower using a brush tool.
I used
Yellow #e6dd2a
Pink #e091b0
White #ffffff
Pink #e091b0
White #ffffff
to give it a wedding feeling.

After that, I chose this painting to be the texture. I again, transform it by rotating it 90 degrees. Then, I rasterize it and overlay it to my painting.

The Haunt Phone Galore

Original picture


I used the same method as the The Phone Bride to darken the lines.
I used the magic wand to select the lines only, as seen on the picture on the left.
Using the brush to paint all the line black after pressing the inverse to inverse the selection.

After that I used the paint bucket causing the whole picture to turn purple but it is alright because I would painting over it again so I just left it as it is. the brown I used is #33211a

Then, I painted the dark sky using a paint brush.
Black
# 020106
Cloud #0a051f and #
090810
Next, I used the brush with less hardness and soft light to make the stars. #f8f8f8

I, then used the brush tool to paint the moon
Yellow
#fafe4a
First I painted the moon, then make the brush diameter to 2500px and change the hardness to 0 and soft
light to make the shine.

I painted the tombstone using a brush.
Gray
# abaca6
Highlighted
gray # 6c7070
After that, I soften
the brush hardness for the highlight.
Next, I made the crack on the tombstone by cropping it from an original picture.

I copy and paste it onto my own painting. I erase the background away.
Then arrange it around all the tombstone using the transform too,
flipping it horizontally and vertically.
Lastly, I add a tinge of gray around it to get it to blend in.

After that, I work on the phones.
For the Body, the brush is set at opacity 78%, normal mode, no harness
For
the glow, screen and buttons the brush is set at opacity 23%, soft light mode and no hardness
-
Red
# e41515
-
Purple
# b35dcd
-
Pink
# f58fde
-
Orange
# f4864a
-
Green
# 98fb85
-
Light
Purple # e0d1e7
-
Blue
# 5277ff
-
Gold
# feeb7b
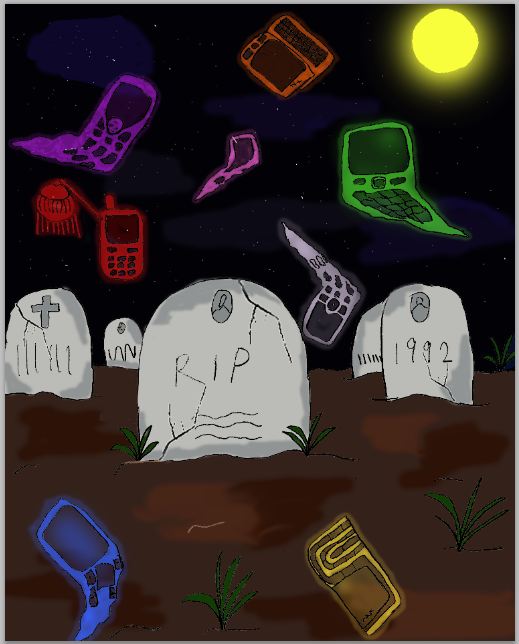
This is how all of it looks like after painting all the hand phones.

I chose this paintings texture and rasterize it. Then, I overlay it onto my painting.
This is how it looks like in the end.

This is also the painting that I chose to print.


0 comments:
Post a Comment